The 1966 Chevrolet Chevelle SS AMT model is a detailed 1/25 scale kit featuring over 100 parts, capturing the essence of Chevrolet’s iconic muscle car. It includes rubber tires, clear and chrome components, and authentic decals for a realistic build experience.
1.1 Historical Background of the Chevrolet Chevelle SS
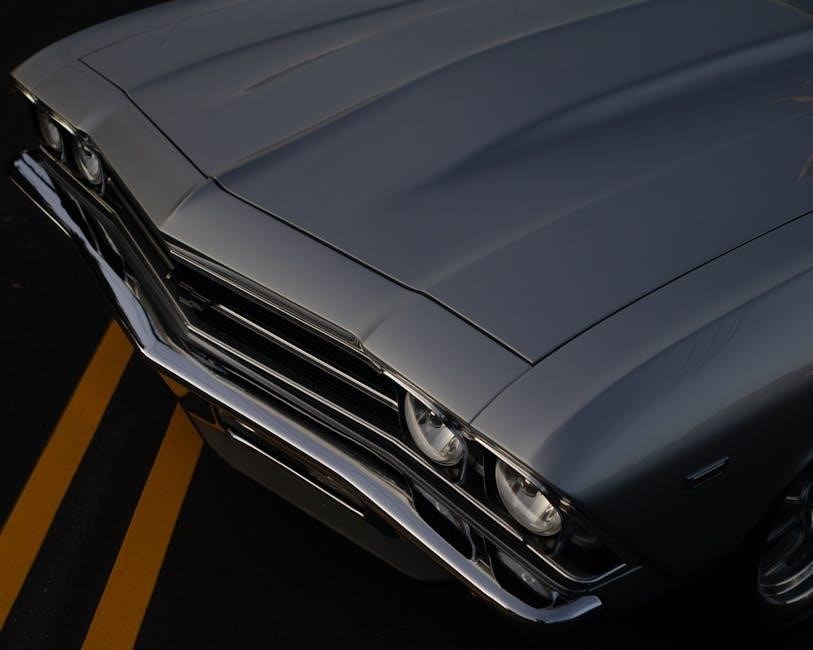
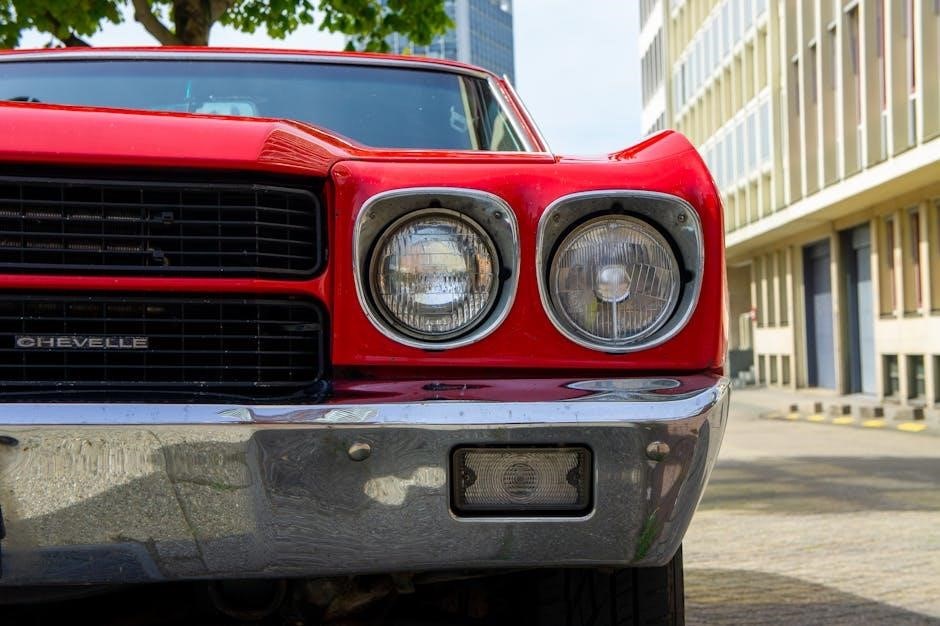
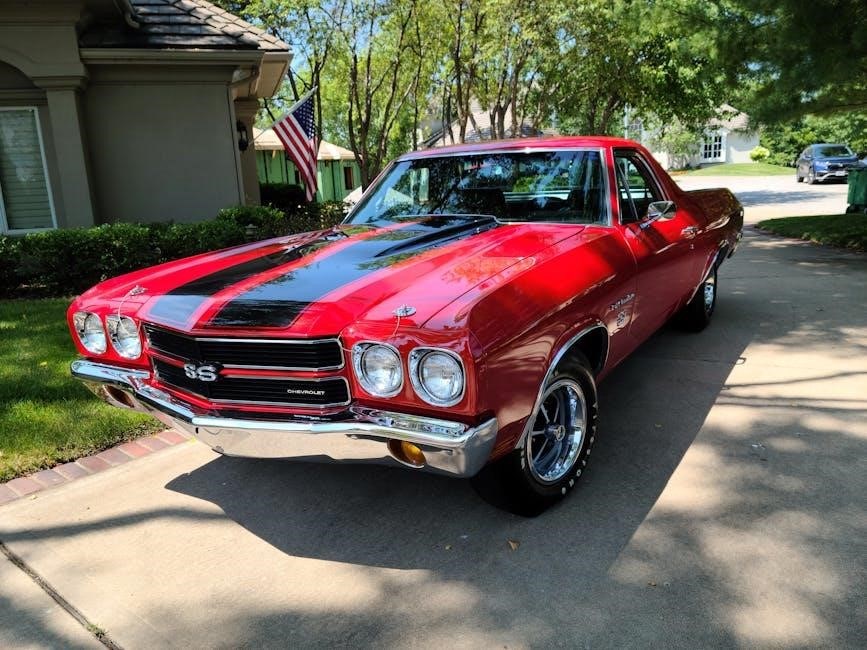
The Chevrolet Chevelle SS, introduced in 1964, became a cornerstone of the muscle car era. The 1966 model showcased enhanced performance and styling, solidifying its reputation as a powerful yet affordable vehicle. Its Super Sport designation highlighted its sporty appeal, catering to a younger demographic. With robust engine options, the Chevelle SS captivated enthusiasts, making it a beloved classic and a popular choice for modelers seeking to recreate its iconic design.
1.2 Overview of the AMT Model Kit
The AMT model kit of the 1966 Chevrolet Chevelle SS is a 1/25 scale replica, offering over 100 detailed parts. It includes rubber tires, clear and chrome components, and a water-slide decal sheet for authenticity. Designed for intermediate to advanced modelers, the kit requires careful assembly to achieve its full potential. With its focus on historical accuracy, the AMT kit allows builders to recreate the iconic Chevelle SS with precision and detail.
Understanding the AMT Kit Components
The AMT kit includes detailed parts like the chassis, engine, body panels, interior, and decals. Understanding these components is crucial for accurate assembly and a realistic finish.
2.1 Kit Contents and Parts Inventory
The AMT 1966 Chevrolet Chevelle SS kit includes over 100 detailed parts, molded in white, with additional chrome-plated and clear components. The set features rubber tires, a detailed chassis, engine, body panels, and interior pieces. A water-slide decal sheet is provided for authentic markings. The kit also includes assembly instructions to guide modelers through the construction process, ensuring accuracy and realism in the final build.
2.2 Scale and Dimensions of the Model
The 1966 Chevrolet Chevelle SS AMT model is produced in a 1/25 scale, offering precise details and proportions. The assembled model measures approximately 8 inches in length, capturing the iconic lines and dimensions of the original vehicle. This scale ensures a balance between size and detail, making it both display-friendly and intricate enough for enthusiasts to appreciate the realism and accuracy of the classic muscle car design.
2.3 Historical Accuracy of the 1966 Chevelle SS
The AMT model kit faithfully captures the historical essence of the 1966 Chevrolet Chevelle SS, replicating its iconic design and features. The kit includes accurate representations of the SS package, including the distinctive grille, sporty wheels, and powerful engine options. Attention to detail ensures that the model reflects the era’s styling, with correct decals and chrome components to enhance authenticity, making it a tribute to the original muscle car’s legacy and heritage.
Tools and Materials Required
Essential tools include a hobby knife, sandpaper, files, and clamps. Materials needed are acrylic paints, plastic glue, and a detail brush set.
3.1 Essential Tools for Assembly
The essential tools for assembling the 1966 Chevrolet Chevelle SS AMT model include a hobby knife, sandpaper, files, clamps, and a screwdriver. A craft mat or workbench is recommended for organization. Additional tools like tweezers and a paintbrush set can aid in detailing. Optional tools, such as a Dremel for polishing, enhance precision. Ensure all tools are within reach to streamline the assembly process.
3.2 Recommended Paints and Finishes
For the 1966 Chevrolet Chevelle SS AMT model, use acrylic or enamel paints for durability and color accuracy. Apply a primer first to ensure a smooth finish. Testors or Tamiya paints are ideal for authentic colors. Clear coats protect the paint and add gloss. Use a well-ventilated workspace and thin paints if needed. Avoid heavy coats to prevent detail loss. Follow the instructions for drying times to achieve professional results.
3.3 Additional Hardware and Adhesives
For the 1966 Chevelle SS AMT model, use plastic cement for assembling parts and sanding tools for smoothing surfaces. Hobby knives and files are essential for trimming excess plastic. Apply masking tape to protect painted areas during assembly. Optional hardware includes small screws or pins for added stability. Use clear adhesive for attaching decals and weathering products for a realistic finish. Follow the kit’s instructions for specific adhesive recommendations.
Assembly Instructions
Follow the step-by-step guide to assemble the 1966 Chevelle SS AMT model. Begin with the chassis, then add the engine and body components. Ensure proper alignment and use recommended adhesives for a secure fit.
4.1 Step-by-Step Assembly Guide
Start by assembling the chassis, ensuring all suspension and steering components are properly aligned. Next, attach the engine block and drivetrain, followed by the body panels. Carefully fit the interior and dashboard, then move on to the exterior details like bumpers and trim. Finally, install the wheels and apply the decals for a polished finish. Follow the instructions carefully for accuracy.
4.2 Chassis and Engine Assembly
Begin by constructing the chassis, ensuring proper alignment of the suspension and steering components. Attach the engine block, carefully aligning the V8 configuration. Install the transmission and drivetrain, securing all parts firmly. Add exhaust systems and detailed engine accessories for authenticity. Use the provided rubber tires and axles to complete the chassis assembly. Follow the instructions precisely to achieve a realistic and sturdy base for your model.
4.3 Body and Interior Assembly
Attach the body panels to the chassis, ensuring proper alignment of the doors, hood, and trunk. Install the interior components, including the dashboard, seats, and floor pan, securing them with adhesive. Add detailing such as the steering wheel and center console. Carefully fit the glass components into the body for a seamless look. Follow the instructions to integrate the body and interior with the chassis, ensuring a precise and accurate assembly. Use plastic cement for secure bonds and handle small parts with care to avoid misplacement.
Painting and Detailing
Apply authentic paint schemes using acrylic or enamel paints. Sand surfaces for a smooth finish. Add decals and weathering effects for realism. Finish with detailing touches.
5.1 Preparing the Model for Painting
Start by cleaning all parts with mild soap and water to remove grease and dirt. Lightly sand surfaces to ensure better paint adhesion. Remove mold lines and rough edges using a fine-grit sandpaper. Prime the entire model with a high-quality plastic primer to create a uniform base. Allow primer to dry completely before proceeding with painting. Use masking tape to protect areas that should remain unpainted during the process. This step ensures a smooth and professional finish.
5.2 Applying Authentic Paint Schemes
Apply authentic paint schemes using acrylic enamels or lacquers, ensuring colors match the 1966 Chevelle SS palette. Popular options include Butternut Yellow, Azure Blue, and Black. Use thin, even coats, allowing each layer to dry before applying the next. Reference historical images or the kit’s decal sheet for accurate detailing. Lightly blend edges for a seamless finish, and avoid over-spray by masking adjacent areas. This step brings the model closer to its real-world counterpart.
5.3 Adding Decals and Final Details
Add decals using warm water to soften them, then apply with a setting solution for proper adhesion. Ensure decals align with body panels and avoid stretching. Once dry, seal with a clear coat. Add final details like chrome accents, emblems, and weathering effects using a fine brush. Test paint on scrap parts first to ensure color accuracy. These touches enhance realism, completing the model’s authentic appearance.

Tips for Achieving Realistic Results
Use weathering techniques like light sanding and washes to add realism. Ensure accurate paint colors and decal placement. Fine details enhance authenticity, elevating the model’s overall appearance.
6.1 Weathering Techniques
Apply subtle washes to simulate dirt in cracks and crevices. Use light sanding to create worn edges on chrome parts. Add dust effects with powdered pigments for a realistic, used appearance. Reference real-world vehicles to ensure accuracy in weathering patterns. Avoid over-weathering, as it can detract from the model’s authenticity. These techniques enhance the model’s realism, making it stand out as a detailed replica of the 1966 Chevelle SS.
6.2 Customization Options
Customize your 1966 Chevelle SS AMT model with unique paint schemes, aftermarket wheels, or performance parts. Add interior details like seat patterns or dashboard modifications. Experiment with decals to replicate historical racing stripes or personal preferences. Consider upgrading the engine bay with additional chrome parts or weathering effects for a more personalized look. These modifications allow you to create a one-of-a-kind model that reflects your vision of the classic Chevelle SS.
6.3 Avoiding Common Mistakes
To ensure a flawless build, avoid common errors like improper part alignment, rushing paint drying, or forcing ill-fitting components. Use the correct adhesives and reference instructions carefully. Sand parts gently to prevent scratches and apply decals with water to avoid air bubbles. Test-fit components before gluing and work in a clean, well-lit area to maintain precision. Patience and attention to detail are key to achieving a professional finish.
Troubleshooting Common Issues
Address fitment problems by gently sanding parts. Correct paint errors with touch-ups. Fix alignment issues by adjusting components before final assembly for a seamless build.
7.1 Fixing Fitment Problems
Fitment issues often arise due to molding inaccuracies or excess plastic. Gently sand rough edges and use fine files to adjust parts. Test fitting frequently ensures proper alignment without damaging components. Apply minimal force to avoid breaking delicate pieces. If parts still don’t align, consult the instructions or online resources for specific solutions. Patience and careful adjustment are key to achieving a seamless fit.
7.2 Correcting Paint Errors
Paint errors, such as runs or overspray, can be corrected by lightly sanding the affected area with fine-grit sandpaper. Use touch-up paint matching the original color to blend the repair seamlessly. Apply thin coats, allowing each layer to dry before reapplying. For minor blemishes, a clear coat can restore the finish. Avoid using harsh chemicals, as they may damage the model’s plastic or previously applied paint. Patience ensures professional-looking results.
7.3 Adjusting Alignment Issues
Alignment issues, such as misaligned body panels or chassis components, can often be corrected by gently sanding the mating surfaces or using shims. Apply a small amount of glue and test-fit the parts before final assembly. For persistent misalignment, carefully trim excess plastic with a hobby knife or file. Ensure proper fitment by following the assembly manual’s guidance. Patience and careful adjustments will ensure a precise, professional-looking model.
Additional Resources and References
Explore official AMT websites, model-building forums, and detailed hobbyist guides for additional tips and reference materials to enhance your 1966 Chevelle SS modeling experience.
8.1 Online Tutorials and Guides
Online tutorials and guides provide step-by-step instructions and expert tips for building the 1966 Chevrolet Chevelle SS AMT model. Websites like AMT’s official site and modeling forums offer detailed pdf guides, videos, and community advice. These resources cover painting, assembly, and customization, ensuring a precise and realistic finish. They are invaluable for both beginners and experienced modelers aiming to perfect their 1/25 scale Chevelle SS.
8.2 Community Forums and Discussions
Community forums and discussions are excellent resources for modelers seeking advice or sharing experiences with the 1966 Chevrolet Chevelle SS AMT model; Platforms like modeling forums and social media groups offer tips, troubleshooting, and inspiration from experienced builders. These communities often feature detailed build logs, photos, and step-by-step guidance, helping modelers overcome challenges and achieve authentic results. They also provide opportunities to network with fellow enthusiasts and learn from their expertise.
8.3 Recommended Books and Manuals
For in-depth guidance on the 1966 Chevrolet Chevelle SS AMT model, recommended books include detailed assembly manuals and historical guides. Titles like “The Chevrolet Chevelle SS: A Comprehensive Guide” and “AMT Model Kits: A Builder’s Reference” provide insights into authentic detailing and accurate assembly. These resources are invaluable for achieving a realistic and precise model, offering step-by-step instructions and historical context for enthusiasts and modelers alike.
Building the 1966 Chevrolet Chevelle SS AMT model is a rewarding experience, offering a detailed, authentic replica of a classic muscle car. With careful assembly and attention to detail, modelers can create a stunning display piece that showcases the iconic design and heritage of the Chevelle SS.
9.1 Final Thoughts on the Assembly Process
Assembling the 1966 Chevrolet Chevelle SS AMT model is a rewarding journey, requiring patience and attention to detail. The process allows modelers to appreciate the intricate design of this classic muscle car. By following the instructions carefully, enthusiasts can achieve a display-worthy model that captures the essence of the Chevelle SS. The end result is a testament to the modeler’s skill and dedication to automotive history.
9.2 Displaying Your Finished Model
Once completed, the 1966 Chevrolet Chevelle SS AMT model deserves a prominent display. Showcase it on a shelf or in a glass case to highlight its intricate details and vibrant paintwork. Proper lighting can enhance its appeal, while a themed base adds context. Displaying your model proudly shares your passion for automotive history and celebrates your craftsmanship. It’s a perfect way to admire your finished project and connect with fellow enthusiasts.